An adapter from an iambic key to Morse trainers
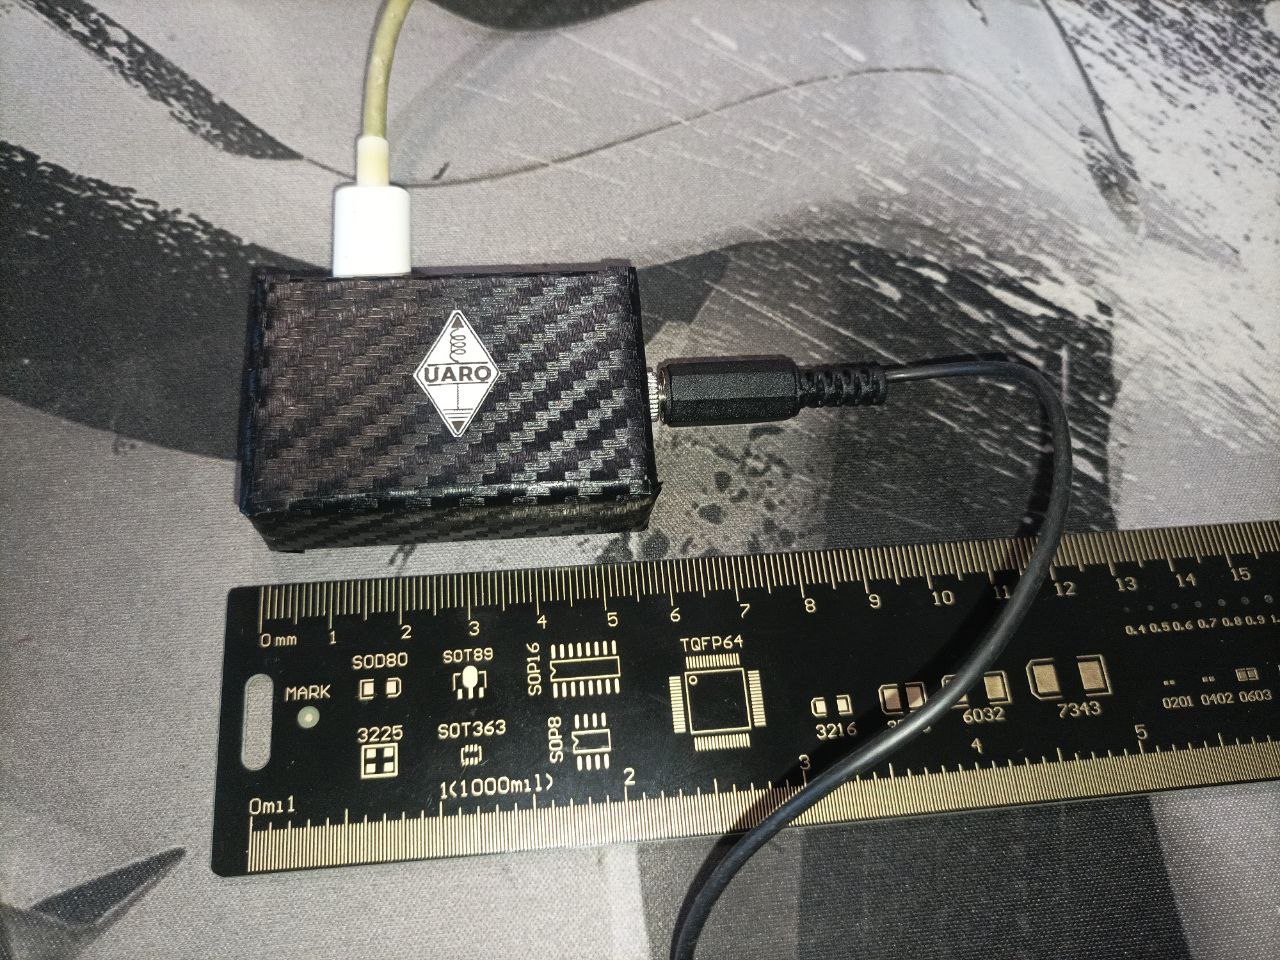
In this article we look at one of UARO's projects — a special adapter for iambic Morse keys that lets you connect them to all sorts of Morse trainers on phone and PC!
Components
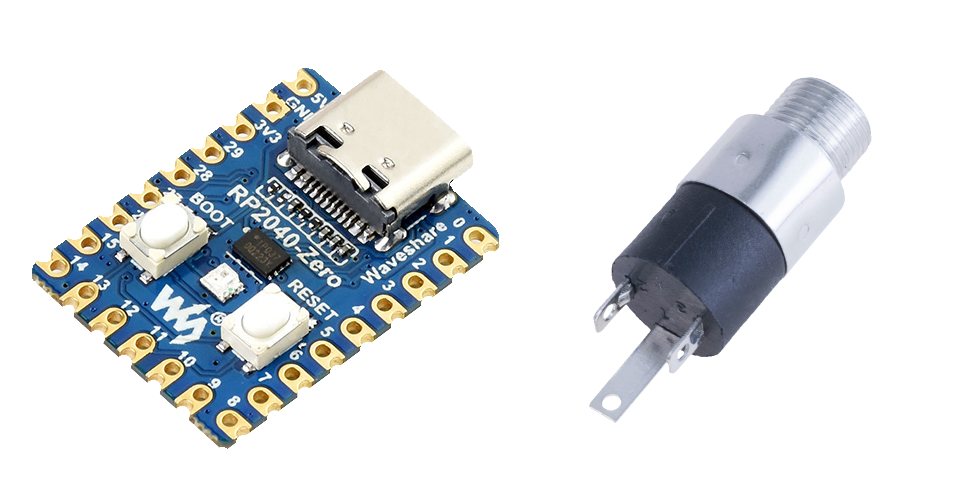
At the heart of this adapter is an RP2040 microcontroller, or more precisely a Raspberry Pi Pico dev board. The dev board that has proved itself best is the RP2040-Zero by Waveshare, thanks to its rather small size. Besides the microcontroller you will also need a 3.5 mm jack socket, since most iambic keys use exactly this method of connection.
An example of the components at the rcscomponents store:
The circuit
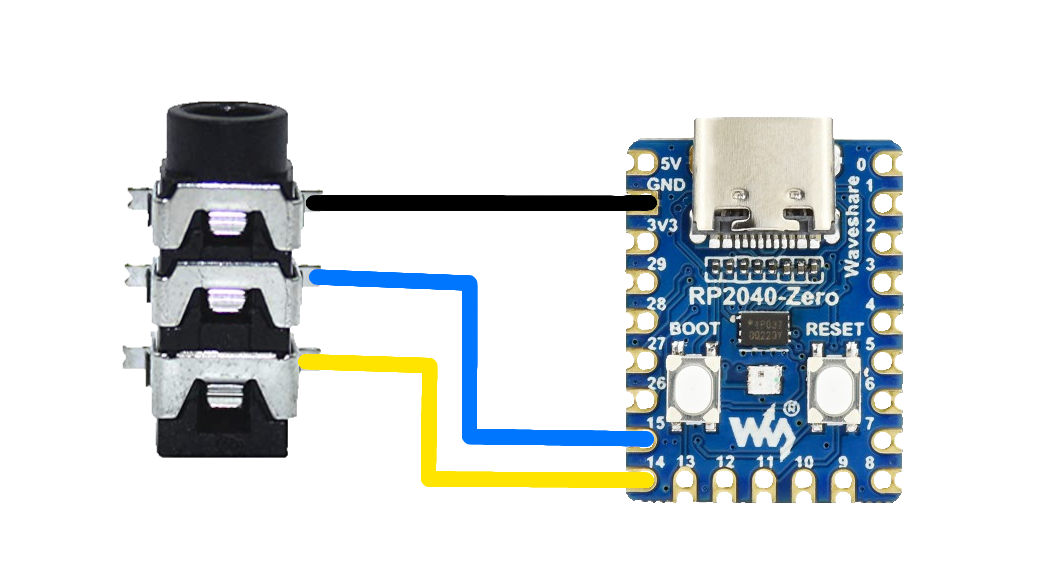
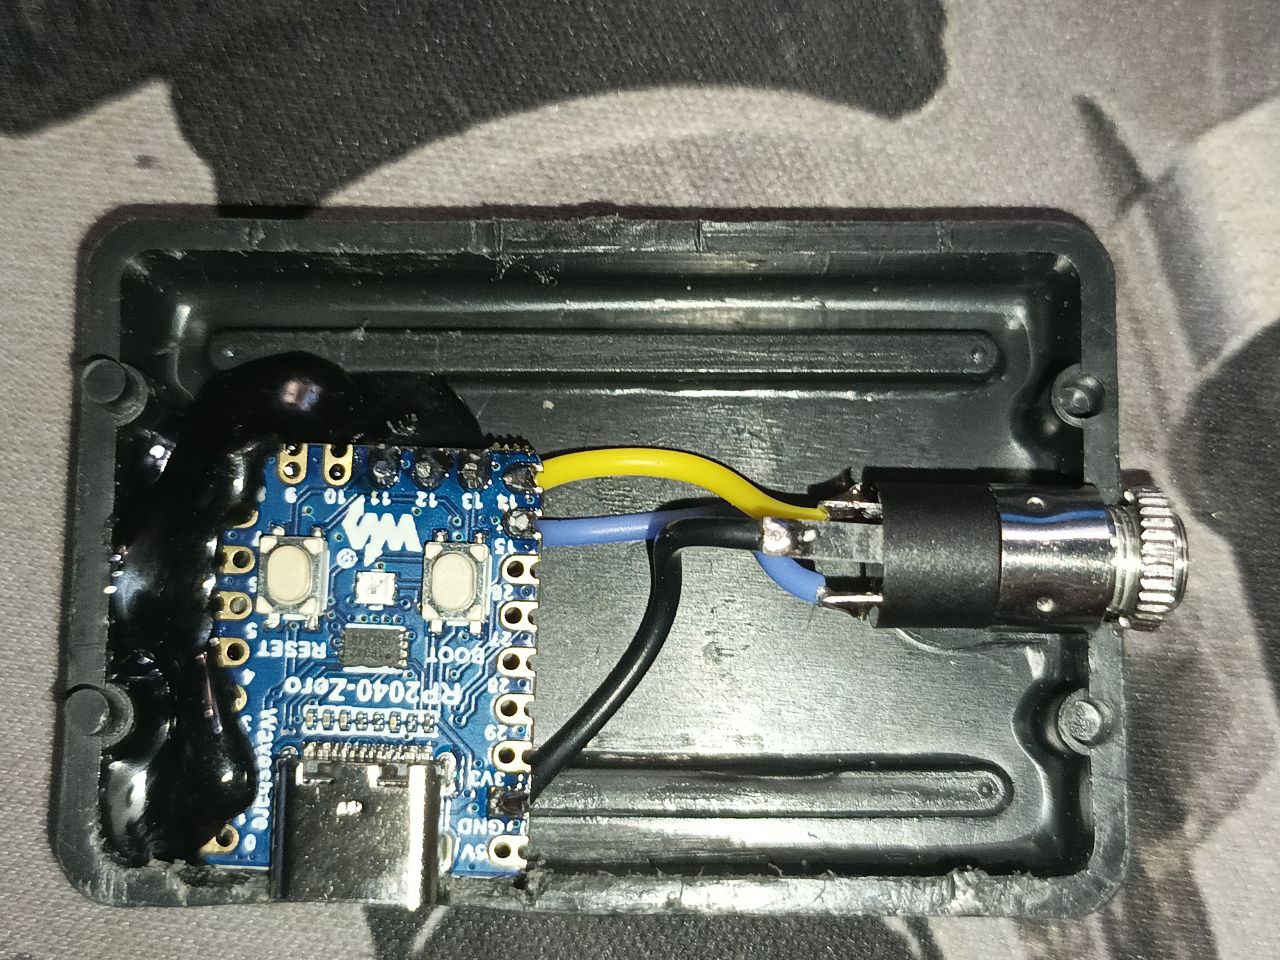
Connecting it all is quite simple: the first contact of the 3.5 mm socket takes the ground from the microcontroller — GND. The second and third connect to GPIO 14 and GPIO 15. There is nothing else to connect.
Flashing the microcontroller
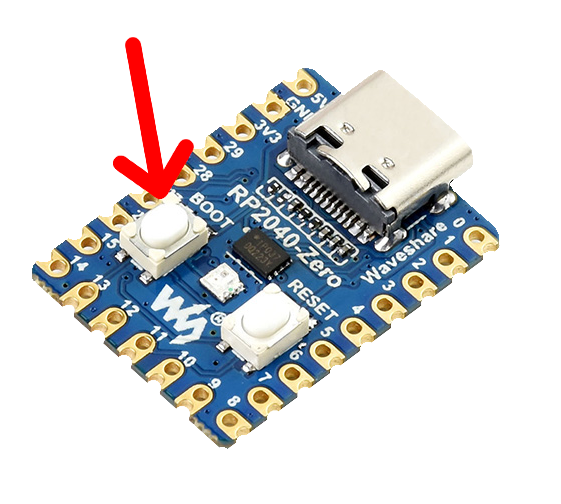
To flash the microcontroller, you need to hold down the BOOT button on the board and connect it to the computer. The computer will see the microcontroller as an ordinary flash drive, with a name such as RPI-RP2 and roughly the following contents inside:

In this mode the microcontroller expects firmware in the .uf2 format. The project is based
on the CircuitPython firmware, so that users can easily configure it without needing to
recompile the firmware. You need to download the appropriate .uf2 file
and copy it to the microcontroller.
After that the microcontroller will restart and again be available as an ordinary flash drive, but this time with the name CIRCUITPY and the following contents:
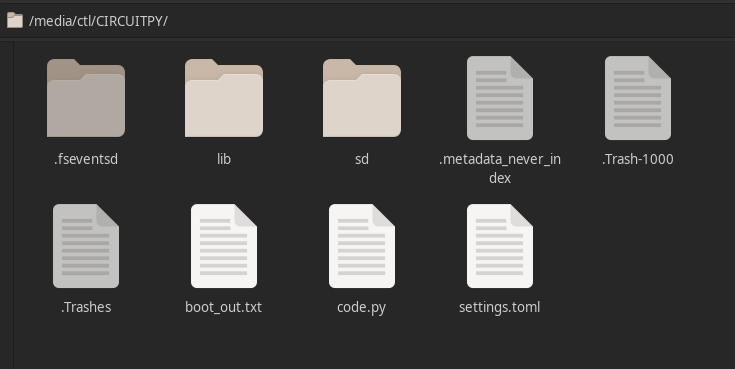
First you need to place the adafruit_hid library in the lib directory (create it if it does not exist) — simply create an adafruit_hid directory with the following contents.
Next you need to open and edit the code.py file. Delete the previous contents and copy the
following code there:
import time
import board
import digitalio
import usb_hid
from adafruit_hid.keyboard import Keyboard
from adafruit_hid.keycode import Keycode

kbd = Keyboard(usb_hid.devices)

button_s = digitalio.DigitalInOut(board.GP14)
button_s.direction = digitalio.Direction.INPUT
button_s.pull = digitalio.Pull.UP

button_a = digitalio.DigitalInOut(board.GP15)
button_a.direction = digitalio.Direction.INPUT
button_a.pull = digitalio.Pull.UP

prev_s = True
prev_a = True

while True:
    curr_s = button_s.value
    curr_a = button_a.value

    # Configuring the buttons. For example, if you need the Q key instead of S: change both Keycode.S to Keycode.Q

    if not curr_s and prev_s:
        kbd.press(Keycode.S)
    elif curr_s and not prev_s:
        kbd.release(Keycode.S)

    if not curr_a and prev_a:
        kbd.press(Keycode.A)
    elif curr_a and not prev_a:
        kbd.release(Keycode.A)

    prev_s = curr_s
    prev_a = curr_a

    time.sleep(0.01)
On the whole, the adapter is now ready to use. But the devices it is connected to (computer,
phone) will keep seeing it as a flash drive. To get rid of this, you need to create one more
file in the root of the microcontroller's flash drive (where code.py is) — boot.py — with
the following contents:
import board
import digitalio
import storage
import time

button = digitalio.DigitalInOut(board.GP14)
button.switch_to_input(pull=digitalio.Pull.UP)
time.sleep(0.1)

if not button.value:
    storage.enable_usb_drive()
else:
    storage.disable_usb_drive()
This way, the microcontroller will no longer connect as a flash drive. And if you need to modify the settings, you can hold down one side of the iambic key while connecting (the one that was soldered to GPIO 14), and then the microcontroller will again connect as a flash drive, letting you modify the code.
In the attachments below you can download an archive in which I have gathered all the files you need to place in the root of the flash drive after flashing CircuitPython. That is, you simply copy everything from the archive into the root of the flash drive, agreeing to replace the files, and the device will be ready to work.
Usage
To use the adapter, you just connect it to the device you want with a Type-C cable. The
device will see the adapter as an ordinary keyboard and will imitate pressing the A and S
keys depending on how the key is pressed. The A and S keys can be changed to whatever you
need in the code.py file — after flashing, before connecting the adapter, hold down one
side of the key (the one connected to GPIO 14, that is the one that imitates the S key), and
the adapter will connect as a flash drive. Then open code.py and edit the lines of code
with kbd.press.